Beans are very often overlooked.
Which is sad because they are fabulous! They are full of magnesium, potassium, iron, folate, and zinc. They are a great source of fiber, and protein. Plus they taste delicious. And they’re cheap. Which is always a good thing. Especially for us, a couple of young farmers who live in poordom. Even with our strict budget and pathetic looking bank account we strive to eat well. Which means eating foods that are often over looked. Beans are one of those foods. Nutritious, delicious, and they come in 2 forms. Dried and canned.
I was always scared of dried beans.
Well actually that’s a lie. I wasn’t always scared of them. I had tried to cook dried beans once before but had ended up with a crunchy bean even after a full day on the stove. The fact that I wasted the money, time, and the beans had developed my fear.
So I just bought the canned ones. They’re easier, more convenient and catered to my fear of the dried bean.
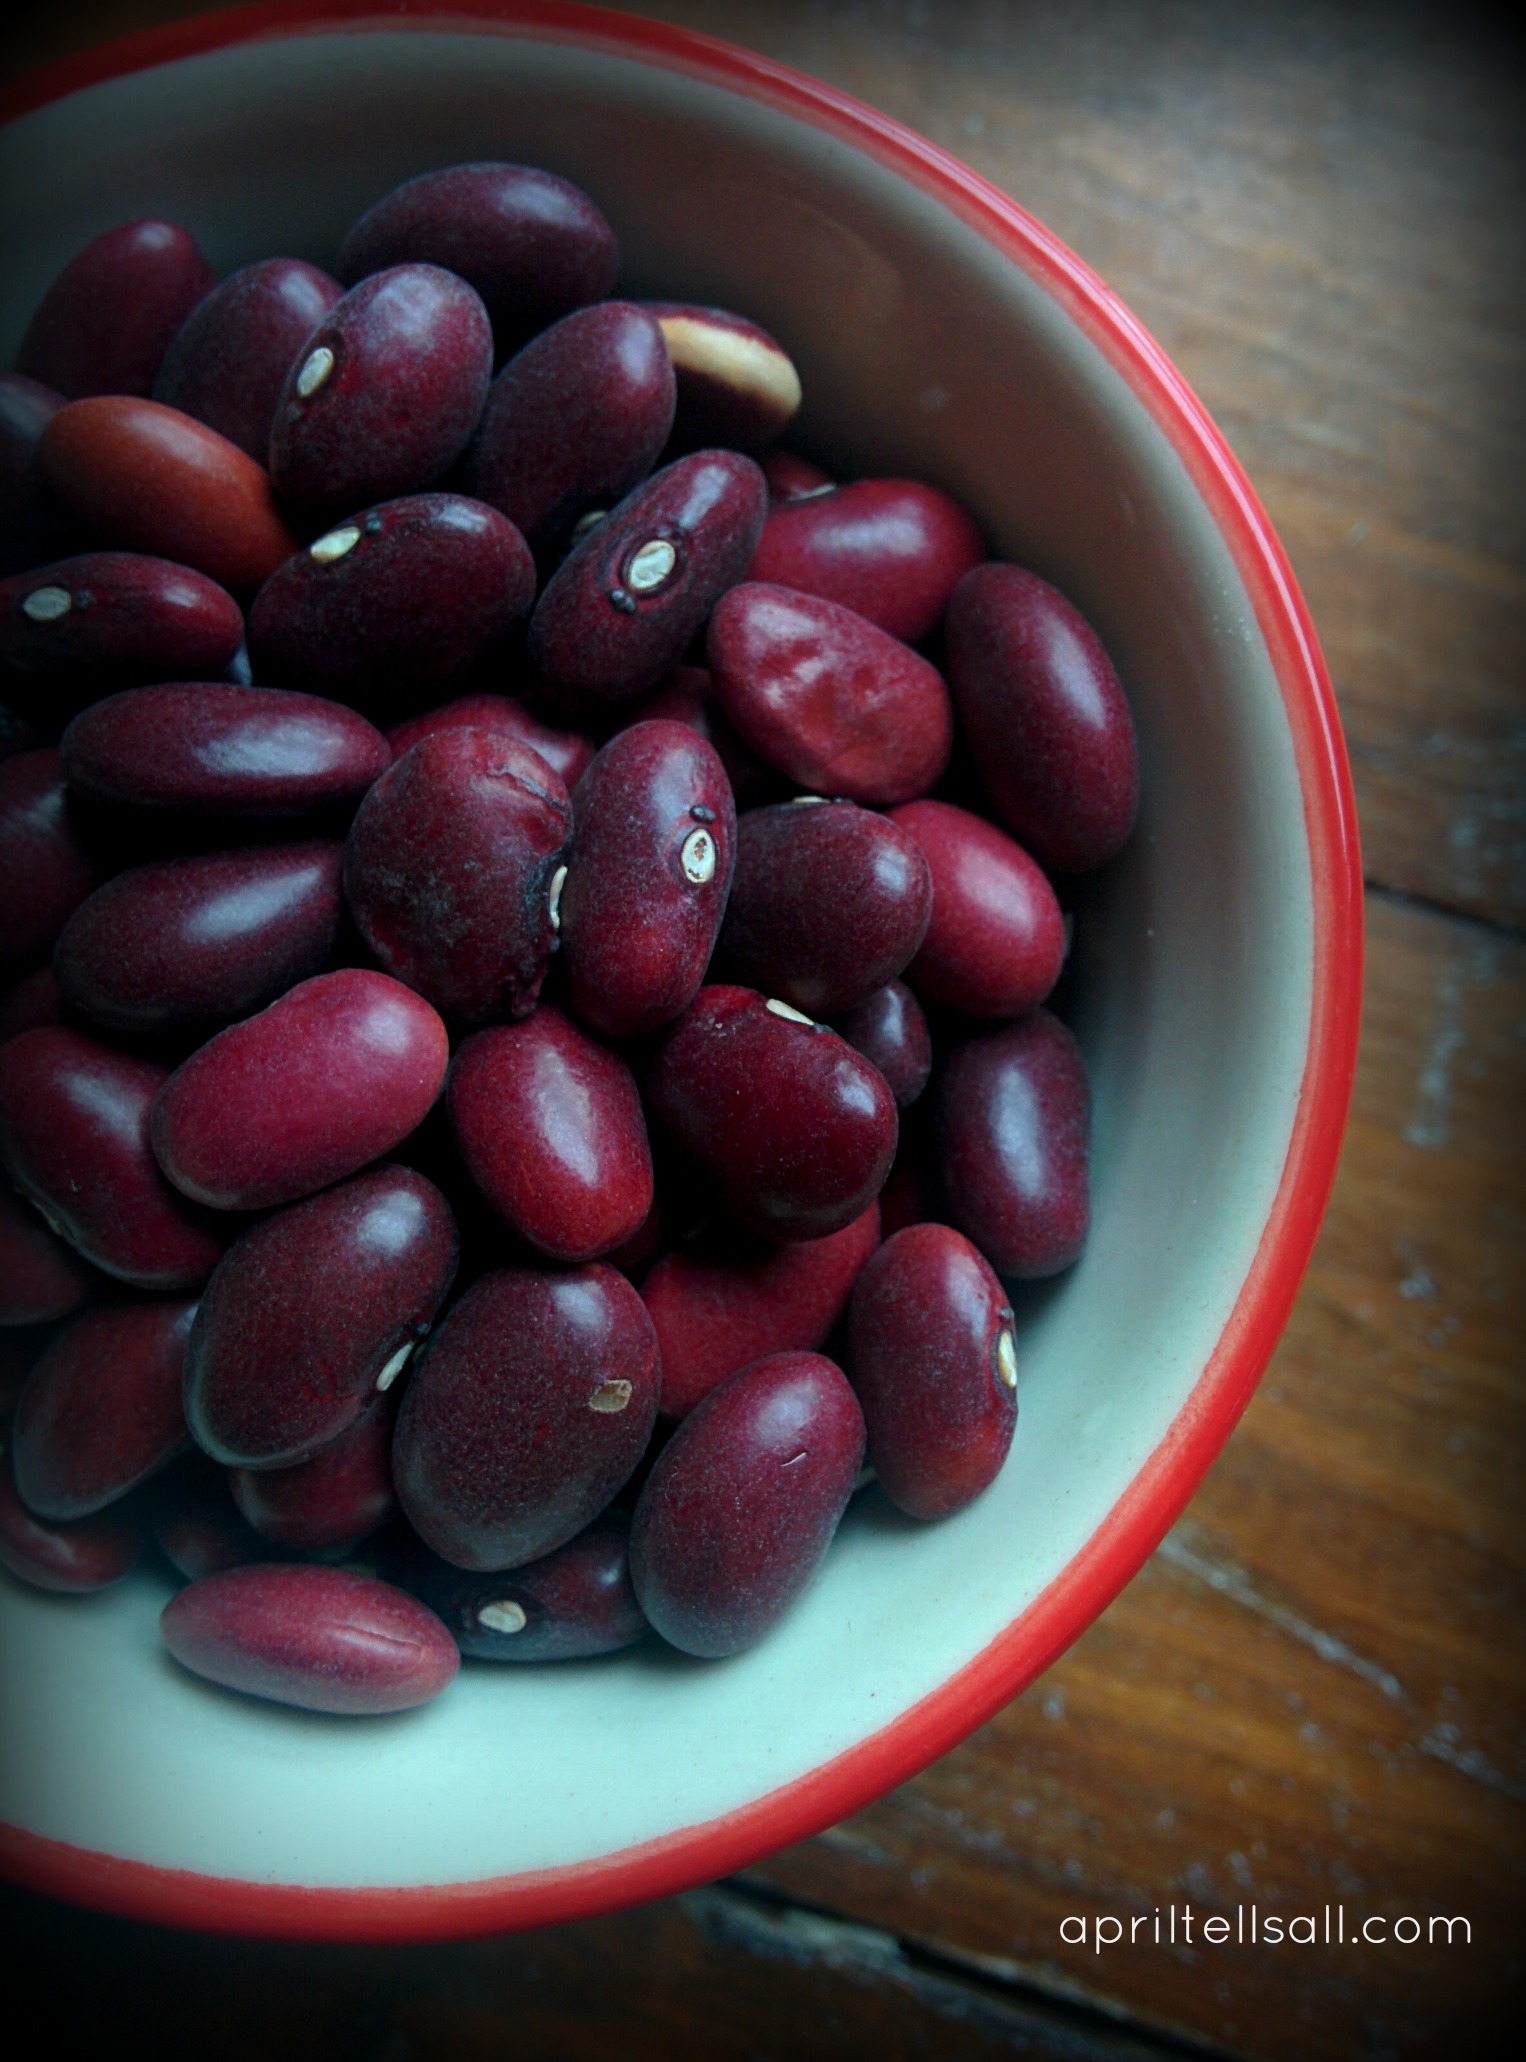
But if you want more bang for your buck you’ve gotta buy the dried ones. So when I came across dried kidney beans from one of my favourite organic bulk food providers I decided it was time to man up. I had to learn to cook dried beans, my budget was depending on me!
Cooking beans is a slow process so be sure to start them on a day when you’ll be hanging around the house. My favourite time is Saturday to Sunday. I start the soaking process Saturday before I go to bed, and by the time we’re home from church they’re ready to be put on the stove. We usually just do small jobs around the house on Sunday and cooking beans is one of them. They don’t require much effort just time and planning. Once cooked they can be frozen to ensure you have cooked beans whenever you need them, or can be kept in the fridge for about a week. I like doing a large batch at a time so we have plenty for chili, burritos, soups, or the freezer depending on the meal plan for the coming week.
Cooking Dried Beans
You Will Need:
Dried beans (I usually do 1 pound (approx 2 cups) when I do a batch. That will equal about 5 cups of cooked beans)
Water
A few pinches of sea salt
Any add ins you want (onion, garlic, herbs, bay leaf, ham hock, chili pepper)
[wp_ad_camp_1]
Directions
Step 1: Sort through the beans for any debris (pebbles, twigs, leaves, bugs), discoloured, wrinkled or broken beans. Remove these and discard.
Step 2: Soak the beans. Soaking the beans does several things:
1. It softens the beans for a faster cooking time.
2. It softens the beans so that they cook consistently all the way through.
3. It breaks down enzymes in the bean so that your body can better digest the bean. This will also help reduce gas. We all know beans as the musical fruit. Soak them long and you will be less musical. Just sayin’.
(Side Note On This: While doing my research I came across a couple of articles that said there is no benefit to soaking the beans and all you do is reduce flavour. My Hubby’s digestion is very sensitive to beans so I soak them for him. We have found that beans that have been soaked for at least 12 hours doesn’t upset him as badly or at all. I am not sensitive at all to beans so if it were just me I could probably get away with not soaking them. I do prefer soaking them for an easier cooking process however. Do what works for you and your body. I am a huge believer of doing your own research, and figuring out the best thing for you personally)
I prefer the long soak method which means that I cover the beans in cold water and let them sit on my counter for 12-24 hours. The longer they soak the better your body can digest them.
If you’re pressed for time you can do the quick soak method. Cover the beans with 3 inches of water and bring to a boil on the stove. Boil for 1 minute and then remove from heat. Cover and let stand 1 hour.
Step 3: Once the soaking period is done drain and rinse them well.

Step 4: Transfer them to a large pot and cover with water. I normally have about an inch of water above the beans. Add in the add ins if using.
Step 5: If using Kidney beans you must boil them for 10 minutes. Kidney beans contain a toxin (called phytohemagglutinin to be exact. Don’t ask me to pronounce that). A 10 minute boil will kill the toxin. If you’re not using kidney beans you can skip this step.
Step 6: Bring the beans to a very gentle simmer and let bubble away on the back of the stove until done, stirring them occasionally. The goal here isn’t so much to “cook” them as it is to allow them to expand gently in a warm bath. Also the real trick to cooking beans is realizing that every batch is different. The age of the beans, how hard your water is, the type of bean, and how long you soaked them (if you soaked them) will all contribute to how long the beans take to cook. It is said that old beans will never soften. Which is where I went wrong the first time I made beans. I bought them (from a slightly unreliable source) and let them sit in my pantry for months before finally deciding to cook them up. They never softened.
Doing the “bite” test periodically on your beans will help you determine how much longer your beans need to be cooked. Usually soaked beans can take anywhere from 30 minutes to 2 hours to cook. I find when I do kidney beans they take about 1 hour and 15 minutes. When you think your beans are getting close keep an eye on them. They can go from still slightly tough to perfect in a matter of 10 minutes.
Step 7: When they’re done drain them immediately to stop the cooking process.
Step 8: Store in in the fridge for a week or freeze them for future use. Try not to eat them all before you even get them stored. Or maybe that’s just my problem. I love beans.

When cooking beans there are lots of add ins you can do to help flavour them as well. Onions, garlic, bay leaves, herbs, chili peppers, ham hock, salt, and pepper. Just let your cooking side take over. There is a debate on when salt should be added. I generally add the salt in when the beans are almost done. I have found that 1 teaspoon of sea salt to 1 pound of beans is about right. Onions, garlic, ham hock, peppers and herbs can all be added at the beginning of the cooking process.
Also be sure to keep an eye on the water level. You don’t want them to boil dry. Add more water if needed to keep them submerged.
And there you have it. There’s just something so cozy feeling about having beans simmering on the stove. It’s like something from Grandma’s kitchen. Keeping traditions alive. That’s what we strive for man. There will be no more canned beans in this house.
And amen.

[amd-zlrecipe-recipe:28]